
Everything You Need to Know About Compressed Air Controls
September 25, 2024
How Lowering the Pressure Band of Your Compressed Air System Can Save You Money
October 9, 2024Air Compressor Installation Checklist—18 Things To Check Before, During and After Your Installation.
Kaishan USA | October 2, 2024| Uncategorized
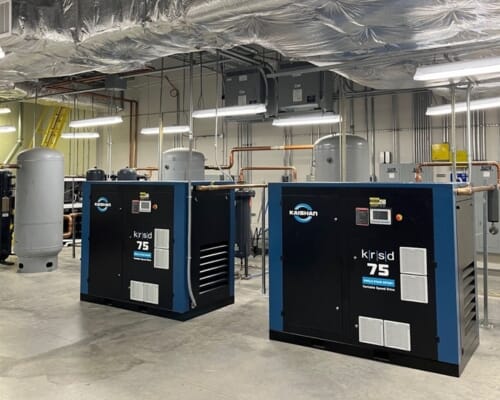
A successful installation by Texas Compression Services shows a backup compressor and ample storage. Plus, excellent clearance to allow maintenance access.
How you install a new air compressor could determine how well it performs in the short and the long term. That’s why it pays to make sure your installation is done right.
A host of factors determine the success of your installation. Is it sized correctly? Have you put it in the right place? Do you have a backup? And is there ample support equipment, especially storage? Was the unit damaged during shipping? There are many more.
Here’s our 18-point checklist of the critical steps to take before, during and after the installation.
Before the Install
A successful installation requires some upfront work to ensure you have the right equipment in the right place.
It’s important to size your compressor correctly, considering both the flow (CFM) and the pressure (PSIG), as well as the applications you’ll need to service. For more on properly sizing your compressor, read our white paper, “Demystifying Air Compressor Sizing.”
1. Sizing
It’s important to size your compressor correctly, considering both the flow (CFM) and the pressure (PSIG), as well as the applications you’ll need to service. For more on properly sizing your compressor, read our white paper, “Demystifying Air Compressor Sizing.”
2. Location
In a perfect world, your air compressor would be installed in a clean, dust-free, dry and oil-free area. The area would be relatively cool and adequately ventilated. There would be good lighting and enough space to allow maintenance access. The compressor would rest on a concrete floor that is flat and level and can handle the unit’s weight.
Unfortunately, we don’t live in an ideal world. And we can’t always anticipate all the issues that might arise. A couple of key points:
- Indoor locations are preferable. But, in more moderate climates, like the southeastern and southwestern states of the United States, it’s possible to locate an air compressor outside, but it must be protected from the elements, temperature extremes, prevailing winds and direct sunlight. If your air compressor has a variable-speed drive, you’ll want to take special care to protect it.
- Poor ventilation. Make sure the roof isn’t so low that it would trap the hot exhaust air and keep it recirculating after it’s discharged from your compressor. Ventilation hoods are available to redirect the cooler discharge air flow and ensure that the exhaust air does not recirculate.
The floor should be flat and level concrete that can handle the static weight of the unit. If the floor surface is uneven or irregular, install it on a 5- to 15-mm pad made of rubber or other pliable material.
For more on the ideal location for a compressor, see our blog post, “How To Design And Prepare For an Industrial Air Compressor Installation.”
3. Compressor Room Design
The ideal situation for an air compressor is in a room of its own, placed in a dry, well-lit, cool and dust-free area. Locating the unit centrally, as closely as possible to the tools it’s intended to service, reduces the amount of piping required. It also eliminates many leaks and pressure drops that sometimes occur in long piping runs.
Because an air compressor runs hot, it should not be in the same room as any device, such as a boiler, that also generates heat. The room should have a maximum ambient temperature of 122F.
For more information, read our blog post, “Compressor Room Design.”
4. Clearances
Place your compressor at least three to four feet away from walls or other equipment to allow for maintenance and service. Refer to your machine’s installation manual for the manufacturer’s recommendations.
You should also have at least five feet of clearance above your compressor. The air could recirculate in a room with a low ceiling, causing problems. You can place more than one compressor in the room, but you’ll want to make sure one compressor is not blowing exhaust air onto another.
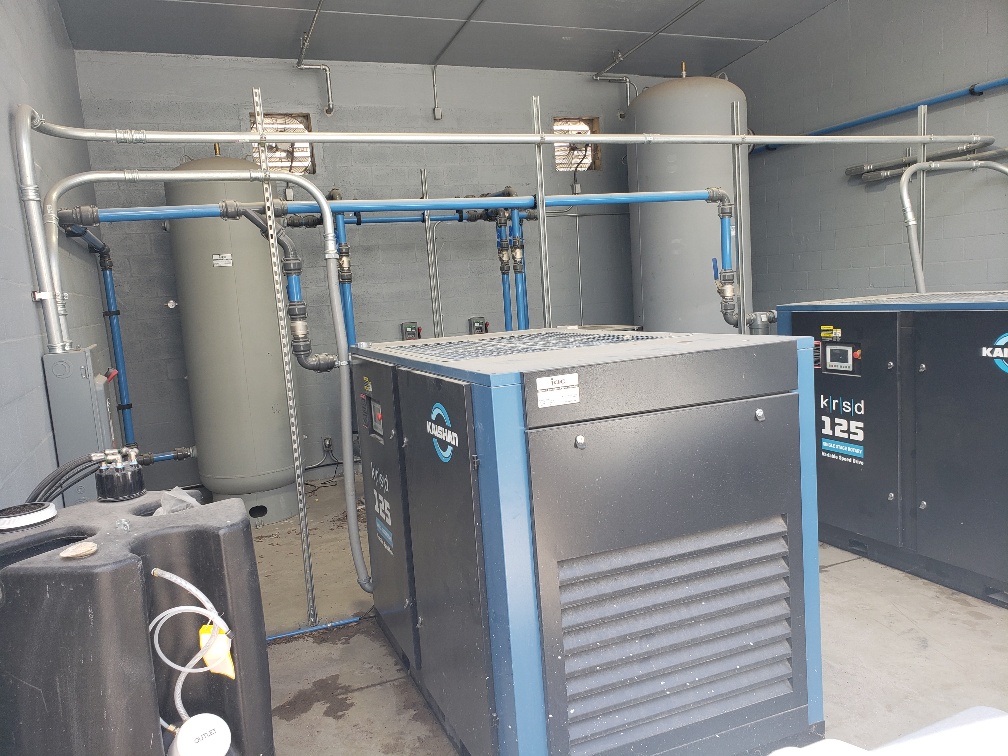
As this installation at Crown Roof Tiles shows, you’ll want to locate your new compressor at least three feet away from walls and other equipment. And ensure there’s ample space above the compressor. (Photo courtesy of Industrial Air Centers of Florida)
5. Cooling
The combination of air compressors and dryers generates a lot of heat. Compressors alone produce 17,522 BTU/hour for every 1 HP.
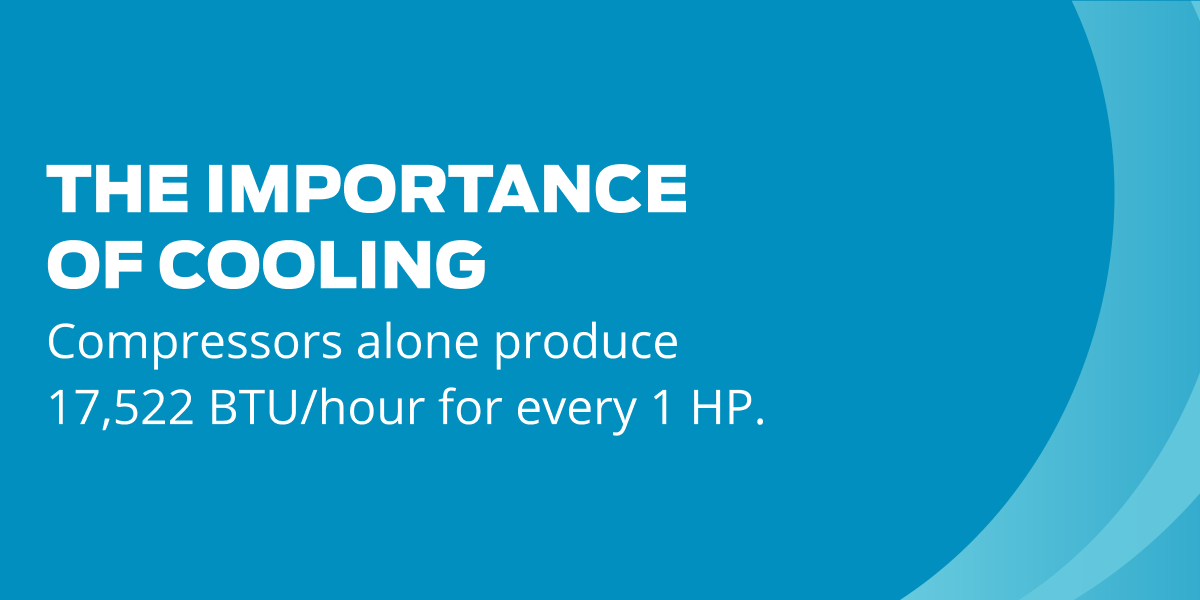
Removing heat is extremely important for the reliability and longevity of your compressor. Excessive heat will break down the oil in the compressor and reduce the oil’s ability to protect the system’s moving parts.
You can find out more about the importance of cooling in our blog post, “Air Compressor Cooling.”
6. Ventilation
Because air compressors generate so much heat, ventilation is one of the most critical considerations for the operation and longevity of your compressed air equipment. The goal is to remove all that heat generated during compression and keep it from recirculating back into the room.
So, you’ll want to get clean air into your compressor, with no restrictions. And, if you’re using water cooling, you’ll want to have water available. You may have to treat the water chemically to keep it clean.
And don’t forget to include compressed air dryers in your calculations of ventilation requirements.
Ducting discharge air out. Bringing clean air in. That’s the perfect combination for a compressor. You can use louvered vents or forced ventilation.
And, if you have more than one compressor in the area, you’ll want to add the ventilation requirements together to determine the total ventilation needed. So, two 100-HP compressors will require the same ventilation as one 200-HP compressor since the heat generated will be similar. An alternative is to give each compressor its own air intake.
In northern climates, it’s possible to save significant amounts of energy by recovering the heat removed from the compressed air system in the winter. A damper directs the air toward an outside vent in the summer. In the winter, the air goes toward space heating or preheating other operations.
For more on the subject, see our blog post, “Compressor Room Design.”
7. Ducts
Ducting discharge air out. Bringing clean air in. That’s the perfect combination for a compressor. You can use louvered vents or forced ventilation.
And, if you have more than one compressor in the area, you’ll want to add the ventilation requirements together to determine the total ventilation needed. So, two 100-HP compressors will require the same ventilation as one 200-HP compressor since the heat generated will be similar. An alternative is to give each compressor its own air intake.
In northern climates, it’s possible to save significant amounts of energy by recovering the heat removed from the compressed air system in the winter. A damper directs the air toward an outside vent in the summer. In the winter, the air goes toward space heating or preheating other operations.
For more on the subject, see our blog post, “Compressor Room Design.”
8. Backup Compressors
Adding a backup to your compressed air system can help eliminate downtime, increase reliability, simplify maintenance and improve equipment life.
For more on information, see our blog post, “Four Reasons Your Plant Needs a Backup Air Compressor.”
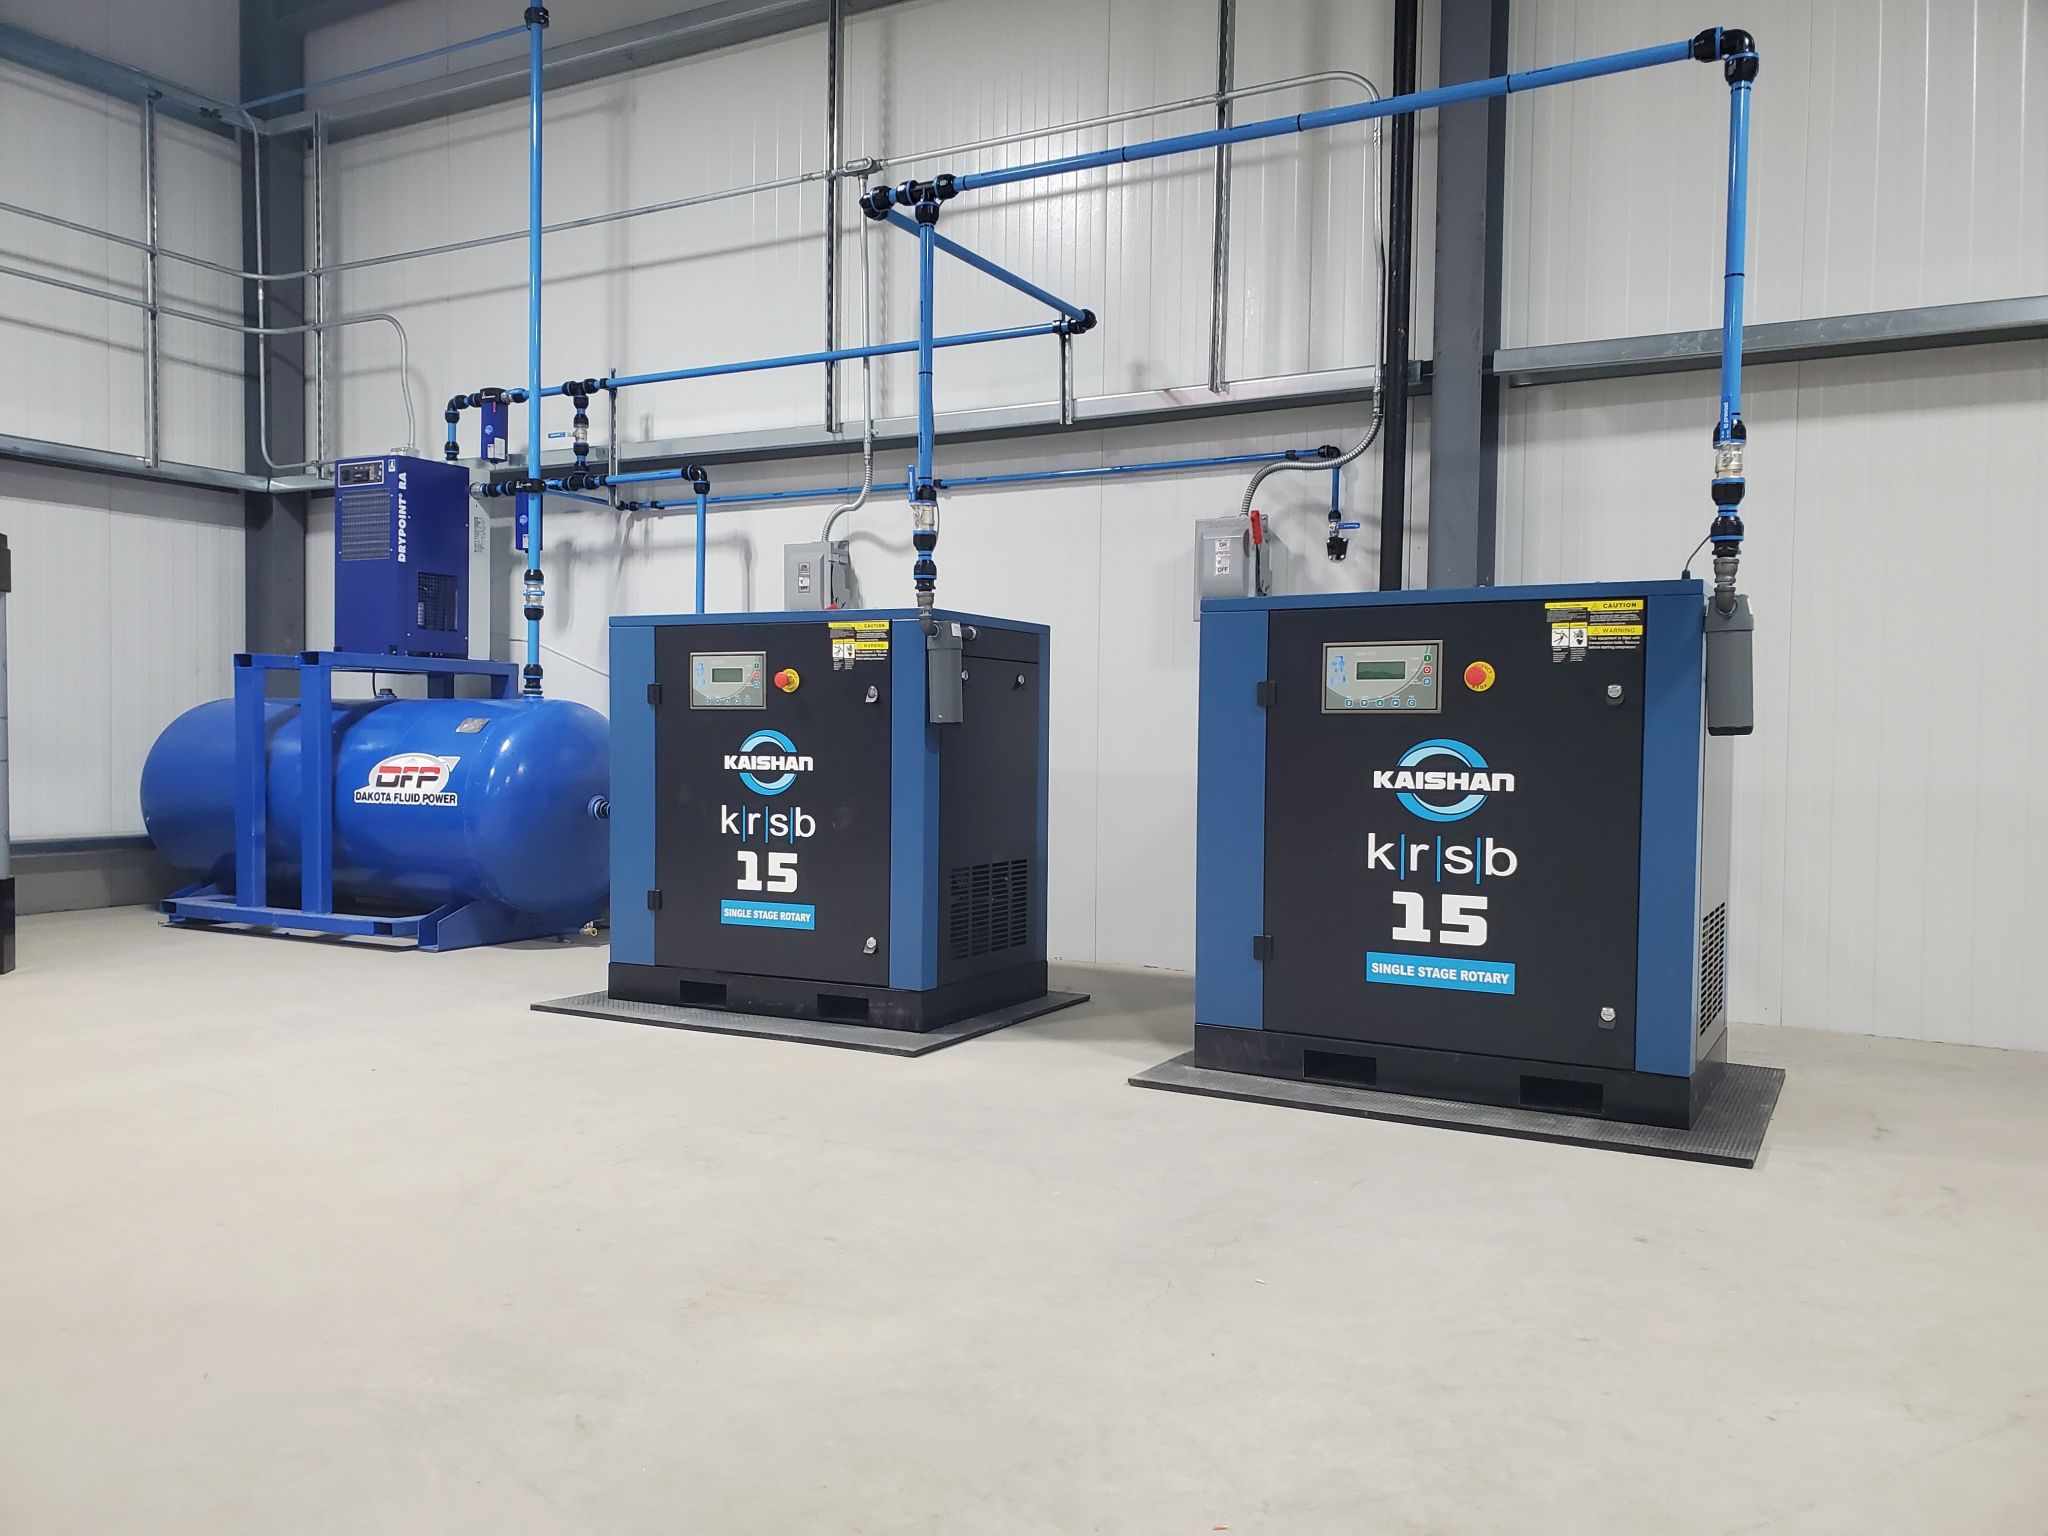
It always helps to have a backup, as Dakota Fluid Power did in this installation.
9. Electrical Service
Before installing the compressor, make sure that your electrical service voltage matches the voltage on the compressor nameplate (located inside the electrical cabinet). If your compressor is a dual-voltage model, ensure it is internally wired for the proper voltage.
Most manufacturers and local regulations require that each compressor have a dedicated electrical circuit and disconnect panel. Electrically operated air treatment equipment should be powered through a separate circuit.
You’ll want to install an appropriately sized fused disconnect or circuit breaker between the compressor and main electric service and ensure all equipment is properly grounded. The key point: it’s essential to have a qualified electrician, certified in your area, supervise the connection.
10. Pipes
While metal pipe is clearly the best choice, there are nuances in deciding among black iron, copper, stainless steel, or extruded aluminum alloy. In our experience, the aluminum option is the best overall value with savings in labor, ease of changes, corrosion resistance and low pressure drop.
You’ll want to make sure you have the proper size pipe to avoid pressure restrictions. And make sure that it's appropriately sized for the number of compressors, to minimize pressure drop.
11. Storage
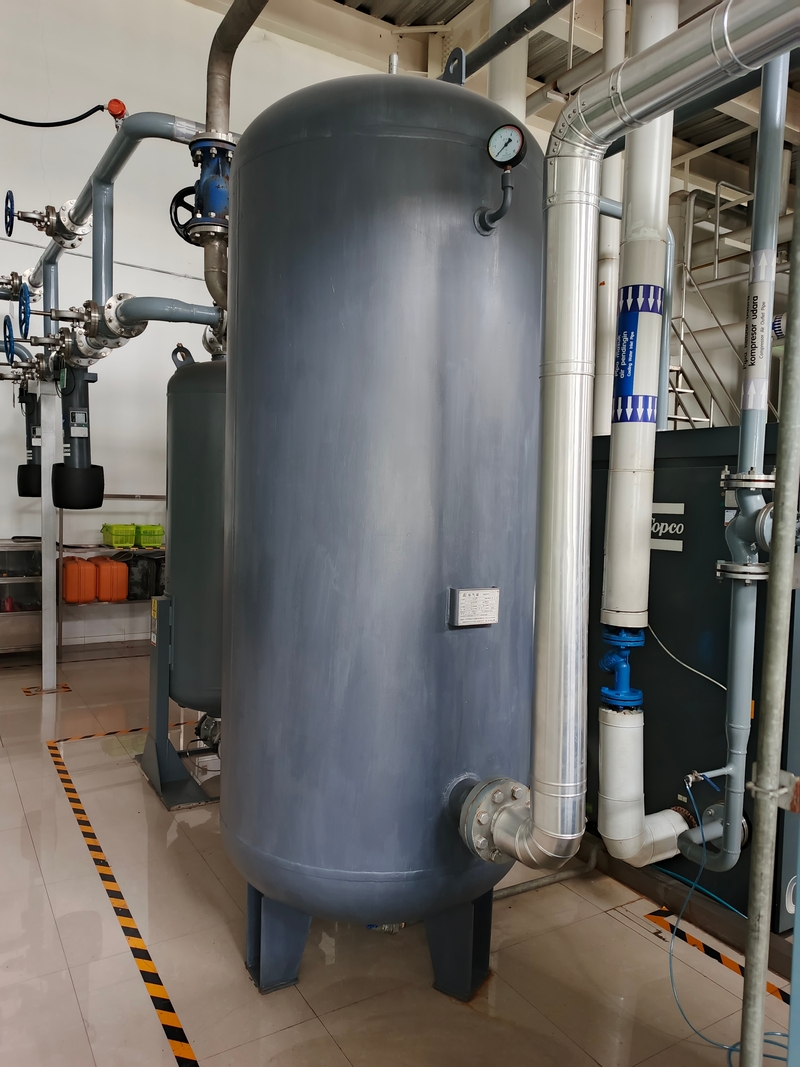
It’s a best practice to have both wet and dry storage to remove moisture and maintain stable header pressure for these fast events. If you don't have enough storage, your compressor may begin rapid cycling, especially if there’s sudden demand—all your end users are calling for air at the same time. That’s why the Compressor Air and Gas Institute says you need eight to ten gallons of storage for each CFM of flow from the largest compressor. [Link to: https://www.cagi.org/handbook-pdfs/handbook-chapter-4]
For more information on storage and compressed air receiver tanks, read our blog post, “A Quick Guide To Accurately Size Air Compressor Tanks.”
12. Centrifugal Water Separator
The centrifugal water separator on the discharge of that compressor is the most important filter in the system because it removes moisture before the air goes downstream. So, it’s essential to ensure that the filter is operational.
13. Pressure Relief Valves
Most people understand that you should size pressure relief valves for the maximum allowable working pressure of the system. But it's also important to size them according to flow. For example, if you have two 100-HP compressors, each producing 500 CFM, you need to size that relief valve to be greater than 1,000 CFM to protect the system.
One quick note: you should not modify the relief valve as it comes from the manufacturer. It should only be replaced by a factory-authorized service technician.
During the Install
For the most part, your installation team will handle the delivery and setup. But there are a few things you should look for.
14. Inspection
You’ll want to inspect your compressor carefully for freight damage. Make sure to unwrap and thoroughly check it before taking delivery.
15. In Case of Damage
Refuse delivery if there is significant damage. And even for minor damage, you’ll want to describe it fully on the bill of lading and take pictures and video for a freight claim.
After the Install
Before the installation team leaves, you’ll want to run through a few basic routines to ensure your new compressor is ready to run.
16. Test and Adjust
Test and adjust the compressor by doing the following:
- Turn it on and build pressure.
- Check for vibration. Especially on the supply line.
- Look for leaks. Make sure there’s no moisture on the pipe after the moisture separator
- Listen for unusual noises, especially the sounds of hissing, grinding or scraping.
- Set the pressure properly to make sure we're operating at the most efficient point.
17. Check the Inlet Valve
The adjustable inlet valve should be set to operate within the appropriate parameters when a new compressor is installed. Generally, the pressure parameters are set up at the factory, but you’ll want to check the pressure to make sure the valve did not go out of adjustment during shipping.
That can happen. Compressors that are not set up correctly can quickly run into problems, locking up and damaging the airend before the end of the day.
One way to ensure an inlet valve is working properly is to check the sump pressure during the unload stage. As long as it is above 8 PSIG, it is working correctly. If it isn’t, you should seek the help of your compressed air professional.
18. Train Your Operators
Too many accidents happen because operators and nearby workers aren’t aware of air compressor best practices. It’s in every company’s best interest to require that everyone who operates your equipment has been appropriately trained in compressed air basics and operating procedures. If you need training materials, check out our safety video.
And make sure all your operators have appropriate personal protective equipment, including goggles, masks, gloves (rubber or leather), steel-toed shoes and leather or PVC aprons.
If you’d like to know more about operating your compressor safely, go to our blog post, “Eight Ways to Improve Air Compressor Safety.”

Safety is no accident. Make sure your workers all have the appropriate PPE when they are working around your compressor.
Local Help with Installation
A compressor installation is a significant undertaking. As a result, we always recommend that you have help and support before, during and after the install.
Kaishan USA works with a nationwide network of independent distributors, who can provide on-site help and consultation as needed. These factory-trained air compression experts have an investment in their local communities and can service your air compressor system without a problem.
Key Takeaways
- How you install a new air compressor could determine how well it performs in the short and the long term.
- In a perfect world, your air compressor would be installed in a clean, dust-free, dry and oil-free area. Relatively cool and properly ventilated. With good lighting. And enough space to allow maintenance access.
- Adding a backup to your compressed air system can help eliminate downtime, increase reliability, simplify maintenance and improve equipment life.
- Size pressure relief valves at the maximum allowable working pressure of the system. But it's also important to size them according to flow.
- It’s in every company’s best interest to require that everyone who operates your equipment has been appropriately trained in compressed air basics and operating procedures.
Let Us Help
Installing a new rotary screw air compressor is critical to the performance of your compressed air system. And that extends to all the processes that rely on that system. If you need help getting ready for a compressor installation, get in touch with the experts at Kaishan. Contact us today.
Random stat or
customer quote
textXXtext
text

